Use your own control-plane database
Release status: BYODB onboarding is under development. Use these instructions only with a signed release explicitly declaring BYODB support. Updating the website launcher alone does not upgrade the released runtime images.
Compatibility candidate warning: PostgreSQL 16–18 lifecycle checks, required channel-binding rejection tests, and old/new migration-lock compatibility checks passed after the reviewed fixes. This remains an unmerged candidate, not a production-ready signed release. Full release qualification is still pending.
BYODB replaces Tunnex’s own control-plane PostgreSQL, not databases belonging to applications employees access through the VPN. Users, policies, devices and other CP records remain in your database. Redis and the separately backed-up Tunnex master key are still required.
1. Reuse your private infrastructure
Section titled “1. Reuse your private infrastructure”Install the CP on a VM or Kubernetes cluster that already resolves and reaches your database’s private DNS endpoint. The database does not need a public IP. Allow the CP workloads to reach the database port through your existing routing and firewall policy. A browser or employee laptop does not need DB connectivity. Do not make the CP database depend on a VPN that requires this same CP to start.
The compatibility candidate targets PostgreSQL 16, 17 and 18, regardless of hosting provider. This means PostgreSQL on your own infrastructure or a managed PostgreSQL service, not arbitrary database engines or every PostgreSQL-compatible service. Use a dedicated logical database on your existing server; a separate cloud DB instance is not mandatory. Other major versions must pass qualification before use; Tunnex does not upgrade or downgrade your database server. Use the writable primary endpoint and direct connections or session-preserving pooling. Transaction pooling is unsupported because Tunnex uses session advisory locks. Native cloud IAM token renewal is not included in this release.
Have your DBA grant the installation role ownership of the Tunnex database/schema
and its objects, or supply a separate migration role through Helm. citext must
be installed, or the migration role must be allowed to install this trusted
extension. Do not point installation at another application’s database.
2. Provide connection settings safely
Section titled “2. Provide connection settings safely”Create a protected file containing a standard PostgreSQL URL, using your existing secret-management workflow. Do not paste credentials into terminal commands, Git or tickets. Percent-encode reserved characters in usernames/passwords.
The URL’s TLS parameters should include:
sslmode=verify-full&sslrootcert=/etc/tunnex/database-tls/ca.crtThe hostname must match the server certificate. If the server uses a publicly
trusted CA, a custom CA file may be unnecessary. For mutual TLS also provide
sslcert=/etc/tunnex/database-tls/tls.crt and
sslkey=/etc/tunnex/database-tls/tls.key.
If your provider supplies channel_binding=require, preserve it alongside
sslmode=verify-full. The compatibility candidate carries this requirement
through runtime connections, migrations and backups; do not remove it to get
past a failed connection check. Accepted channel-binding values are require,
prefer and disable; follow your database security policy rather than weakening
an existing requirement.
Supported URL query parameters are sslmode, sslrootcert, sslcert, sslkey,
connect_timeout, application_name, target_session_attrs and channel_binding. Provider SDKs
or cloud-admin credentials are not required.
3. Install on a VM
Section titled “3. Install on a VM”Download and verify the launcher as described in Installation. Then pass file paths, not the password, to the installer:
sudo env \ TUNNEX_DIR=/opt/tunnex \ TUNNEX_DATABASE_MODE=external \ TUNNEX_DATABASE_URL_FILE=/secure/tunnex-db-url \ TUNNEX_DATABASE_TLS_SOURCE=/secure/tunnex-db-tls \ sh ./get.shThe TLS source is an existing absolute directory, mounted read-only at
/etc/tunnex/database-tls. Omit it when custom TLS files are unnecessary. Paths
must not contain spaces or shell metacharacters. Allow container UID 10001 to
read the files; for a root-owned client private key, use group 10001 and mode
0640, not world-readable permissions.
The installer displays the selected mode without credentials, stores the URL in
the protected installation .env, excludes bundled Postgres, and runs database
preflight from an API-image container on the deployment network before CP startup.
The running CP checks again before automatic migration. External mode requires
verified TLS; it does not fall back to a bundled database when connectivity fails.
Reinstall preserves the database settings and accepts the same URL-file input again. It refuses mode changes or a different URL; switching a populated bundled installation is a planned data migration, not an installer toggle.
CLI: preview the external-database installation
Section titled “CLI: preview the external-database installation”With a downloaded and verified install.sh from a BYODB-capable release, review
the configuration before allowing installation:
sudo env \ TUNNEX_DIR=/opt/tunnex \ TUNNEX_COMPOSE_PROJECT=my-tunnex \ TUNNEX_DATABASE_MODE=external \ TUNNEX_DATABASE_URL_FILE=/secure/tunnex-db-url \ TUNNEX_DATABASE_TLS_SOURCE=/secure/tunnex-db-tls \ sh ./install.sh --dry-runSupply your public HTTPS URL, administrator email and SMTP settings when prompted. The preview must show external PostgreSQL (credentials hidden), the intended directory, and the intended Compose project. It does not connect to the database, verify the signed runtime artifacts, or install the CP.
The image below presents captured output from a real install.sh --dry-run
executed on the AWS lab CP. Inputs were supplied through environment variables
and a protected URL file. It uses an explicit unmerged candidate override, not
a published release recommendation. The image is a transcript presentation,
not a direct Terminal-app screenshot or proof of completed installation.
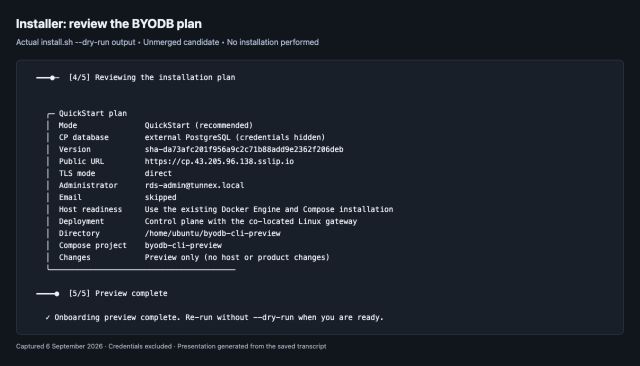
Download the complete captured installer transcript. The planned co-located gateway in the preview is not evidence that one was enrolled; the separate runtime test did not start a gateway.
CLI: check the running database connection
Section titled “CLI: check the running database connection”After installation, from its directory, use the actual configured project name:
sudo docker compose -p my-tunnex --env-file .env -f tunnex.yml \ exec -T api preflight --database-onlysudo docker compose -p my-tunnex --env-file .env -f tunnex.yml psThe following captured commands were really executed against the RDS-backed candidate. Preflight passed and the application services were running. The blank Caddy health field means that service has no container healthcheck; it is not an additional health assertion. Neither command prints the database URL.
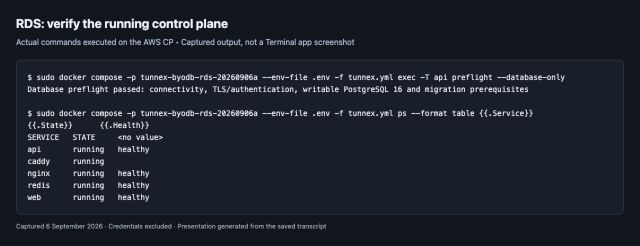
Download the complete captured RDS checks transcript. Both captures preserve the actual output without substituting success messages. They do not certify the still-pending signed installer/upgrade path.
Live example: a CP with PostgreSQL on a separate private VM
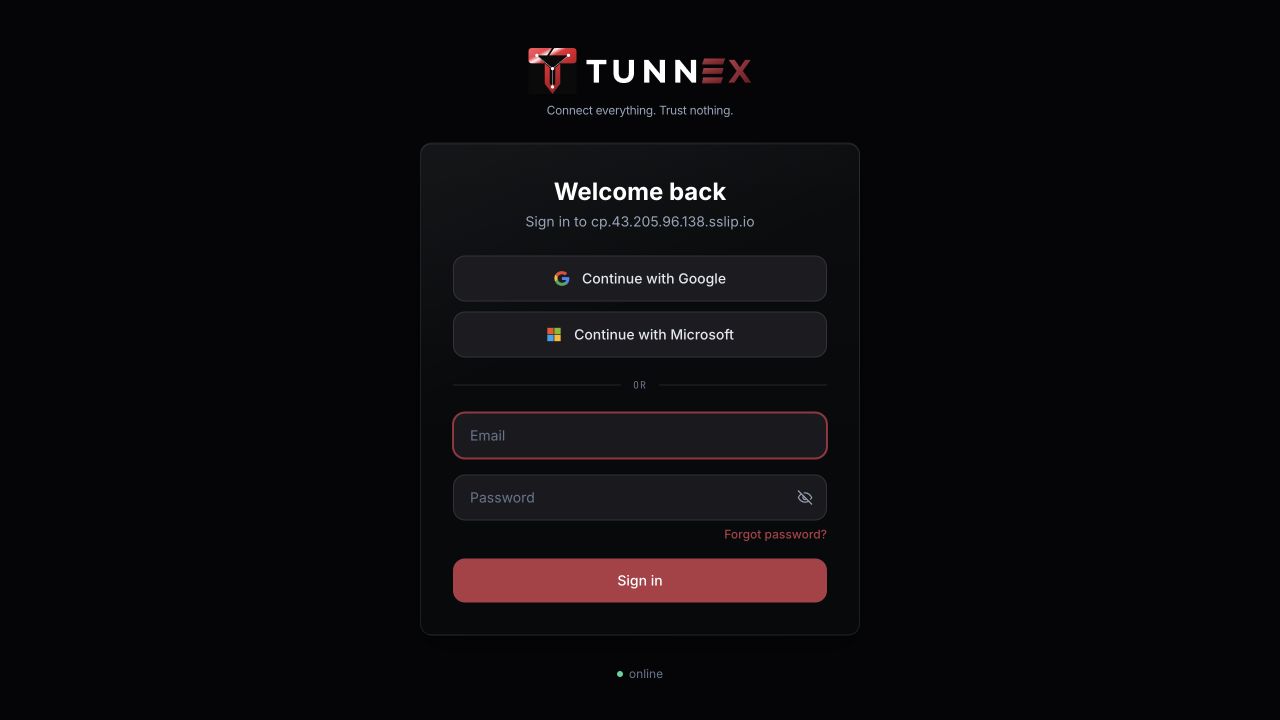
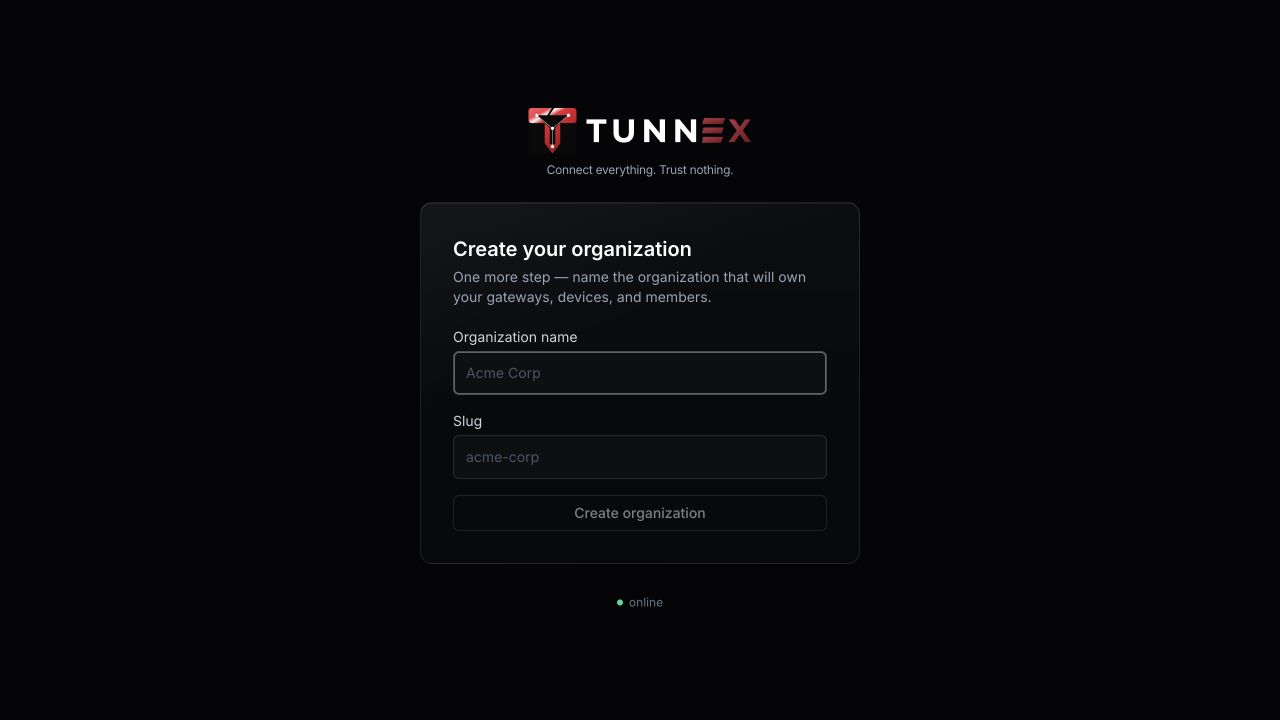
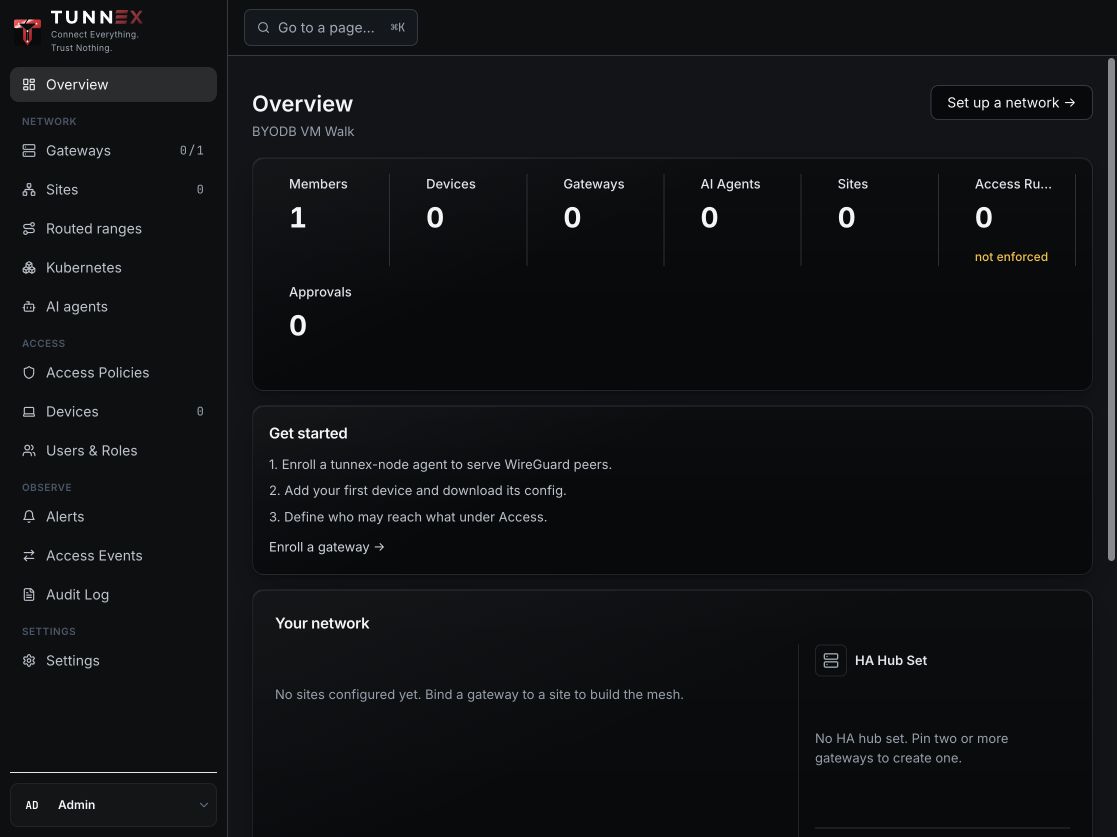
Section titled “Live example: a CP with PostgreSQL on a separate private VM”These screenshots were captured from a real AWS development deployment on 6 September 2026, not mockups. The CP and PostgreSQL ran on different VMs in the same VPC; the database VM had no public IP. Runtime preflight, verified TLS, migration 136, login, database backup/restore and restart checks passed.
This was an unmerged candidate using the canonical Compose deployment file, not a completed signed-launcher/upgrade certification. Database settings are provided before startup using the configuration above, not entered on these browser screens. The empty dashboard is expected: this proves CP onboarding, not gateway enrollment or Kubernetes connectivity.
- Open your CP HTTPS address. Sign in using the one-time bootstrap credential, and complete the mandatory password change. No credential is shown below.
- Name the organization that will own your users, gateways and policies.
- Confirm that the dashboard opens for the new organization. Continue with gateway/device onboarding only after the CP database checks are healthy.
Live example: private Amazon RDS PostgreSQL
Section titled “Live example: private Amazon RDS PostgreSQL”The earlier PostgreSQL-16 candidate also ran against a real private RDS PostgreSQL 16.14 instance. It used the same CP VM with a separate installation directory, Compose project and secrets volume. The VM-backed installation was stopped, not migrated or deleted. This was a fresh empty RDS database, not an in-place DB switch.
- Place the CP where it can resolve and route to the private RDS endpoint.
Keep Public access = No. Allow TCP 5432 from the CP security group only.
RDS requires a DB subnet group spanning at least two Availability Zones even
for this Single-AZ test. The lab used
db.t4g.microand 20 GiB encrypted gp3; this is a paid development fixture, not a sizing recommendation. - Create a dedicated Tunnex database-owner role. Keep the RDS master credential in your administrative secret workflow, not the CP runtime. The tested role had no superuser, create-role or create-database privileges.
- Obtain the official AWS RDS CA bundle,
mount it as
ca.crtusing the TLS directory above, and use the RDS DNS hostname, not its resolved IP, in the protected connection URL. Keepsslmode=verify-fullandrds.force_ssl=1. - Run preflight and start the CP, then complete the same browser onboarding:
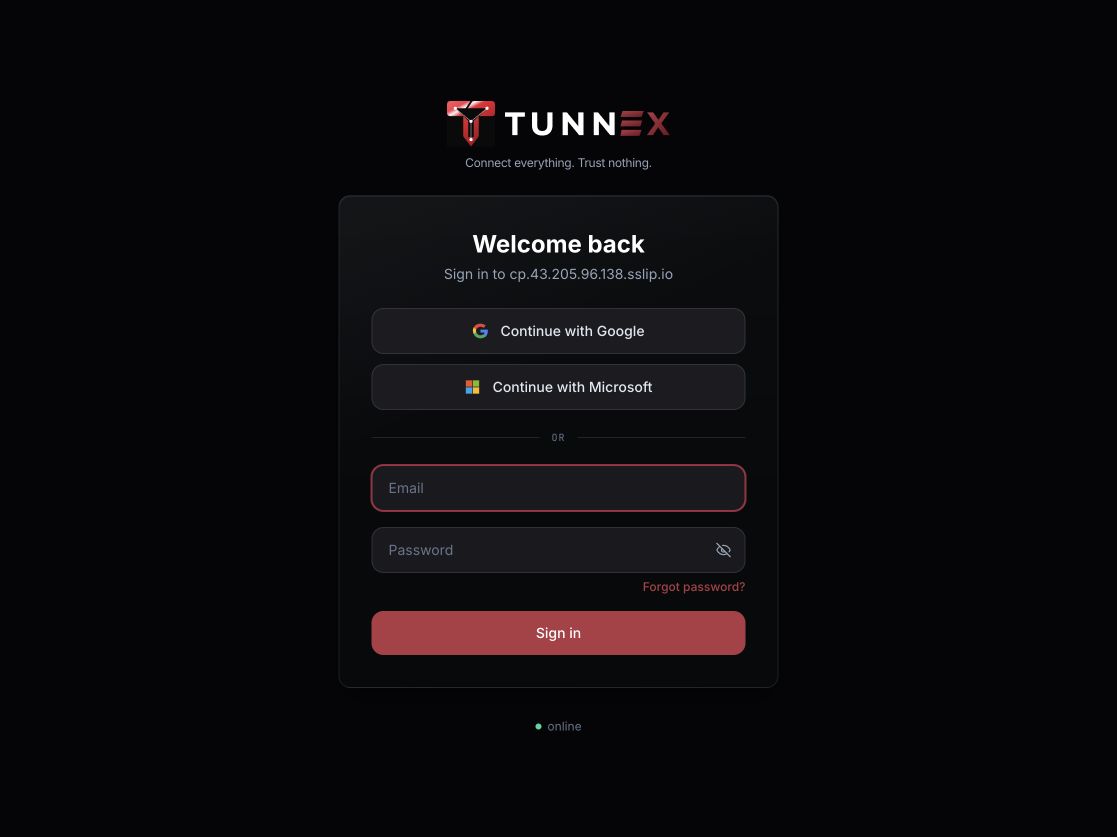
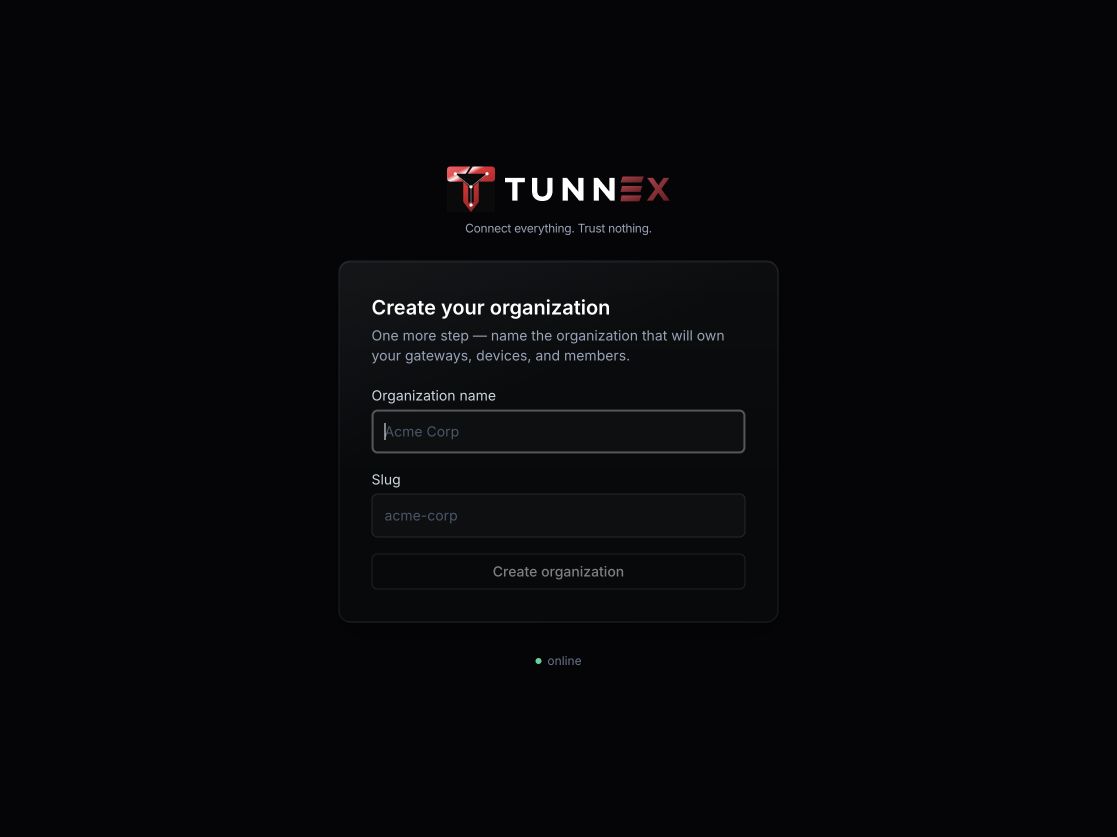
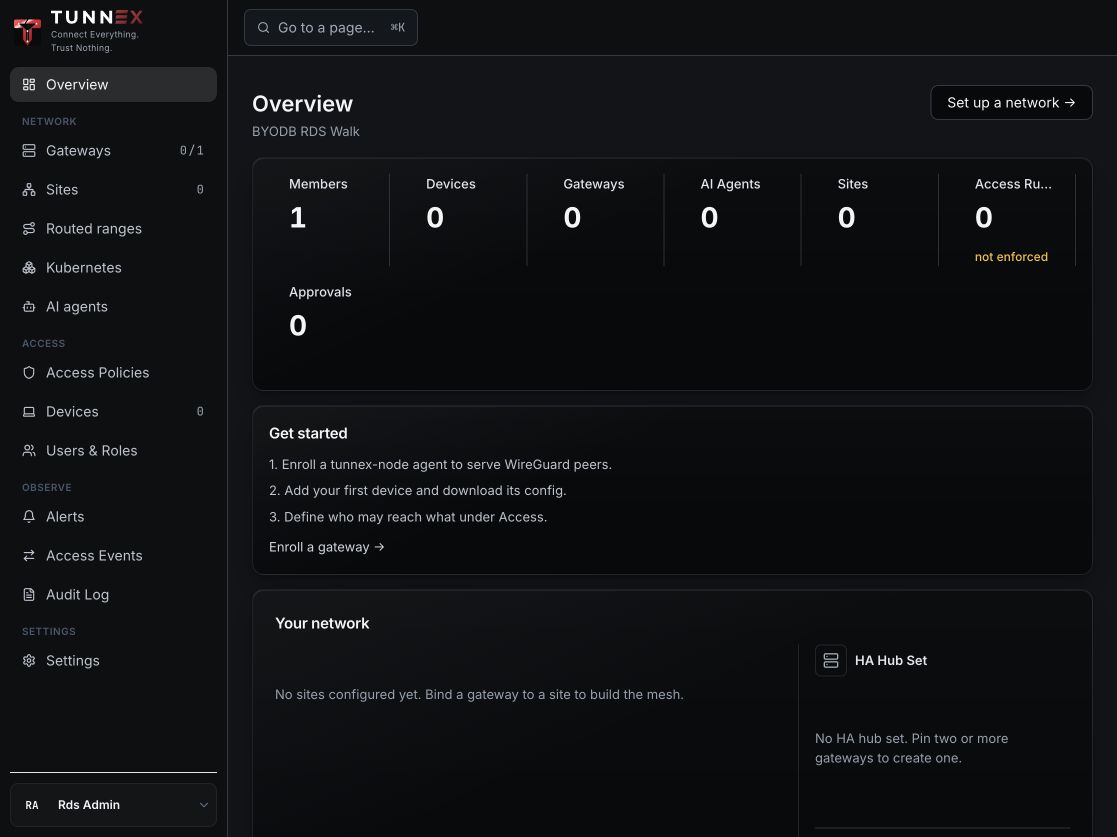
The live checks confirmed migration 136 with no dirty migration, TLS 1.3,
citext, bootstrap login/password change, organization creation, and database
dump/archive validation. Archive validation alone is not a restore drill.
These screenshots show the real RDS-backed application, not the AWS console or
a browser database-configuration wizard. The signed installer/upgrade qualification
described in the release notice remains separate.
Managed-provider example: Neon or an existing hosted PostgreSQL service
Section titled “Managed-provider example: Neon or an existing hosted PostgreSQL service”- Create a dedicated empty logical database and a role with the permissions described above. Keep provider account credentials outside Tunnex.
- Obtain the direct connection endpoint, or confirm that the endpoint preserves sessions. Do not use a transaction-pooling endpoint for the CP or migrations. Select a supported PostgreSQL major; do not change server version merely to match the bundled PostgreSQL container.
- Save the connection URL in the protected file. Use
sslmode=verify-full, preservechannel_binding=requirewhen supplied, and provide the appropriate CA trust. Paths in the URL refer to files inside the API/migration containers. - Verify that the deployment network can reach and resolve that endpoint. A provider’s public TLS endpoint is not proof of private-network connectivity; private endpoints must already be reachable through your own routing and DNS.
- Run the same installer and preflight flow above. Only after preflight succeeds, start the CP and complete browser onboarding. Validate backup and an isolated restore before treating the installation as recoverable.
Qualification status: the compatibility candidate passed an isolated TLS matrix on PostgreSQL 16, 17 and 18 with required channel binding: migration up/down/up, old/new migration-lock contention, version-matched dump and restore. All 12 negative authentication cases also passed across direct, migration and runtime pool connections: verified TLS alone cannot satisfy required channel binding.
The fixed candidate also ran against a fresh Neon PostgreSQL 18.6 database
from the AWS CP VM, using its direct endpoint with sslmode=verify-full and
channel_binding=require. All 136 migrations completed and the API became
healthy. HTTPS checks passed for bootstrap login, mandatory password change,
fresh login, organization creation and readback. Recreating the API with the
final candidate image and the same database/key material passed health, login
and organization readback again. No Neon browser screenshot is claimed here.
The candidate’s PostgreSQL 18 client created a dump and validated its archive.
Restoring that dump into a separate local PostgreSQL 18 database passed with
clean migration state 136 and the expected organization record. The drill
omitted source ownership and grants for the isolated target; it proves database
restoration, not a restored CP startup or recovery of the matching master key.
This was a candidate runtime test, not an unattended or signed-installer success. Cross-region migration exceeded the Compose dependency health window; after confirming API health, the test started the proxy services with the canonical Compose configuration. Place the CP close to its database where possible. Initial-startup waiting behavior and signed installation/upgrade qualification remain pending. The existing RDS installation was stopped for this fresh test; its data and volumes were retained, not migrated to Neon.
4. Install with Helm or GitOps
Section titled “4. Install with Helm or GitOps”Create the URL and TLS Secrets in the release namespace before installation: the migration Job runs as a pre-install hook. Reuse your existing Secret manager or External Secrets workflow; a new secret operator is not mandatory.
Merge these settings into the required CP chart values:
database: urlSecret: customer-db urlSecretKey: connection-uri tls: existingSecret: customer-db-tls # Optional: separate DDL credentials; same target database and TLS files. migrationURLSecret: customer-db-migrator migrationURLSecretKey: connection-uriOmit migrationURLSecret to use one role for installation and runtime. The Job
checks its connection before applying migrations; API pods use the runtime Secret.
Both mount TLS files at the same path. The chart never deletes the external DB.
Keep database.requireTLS: true in production.
5. Upgrade and recover
Section titled “5. Upgrade and recover”Use the normal upgrade procedure. External mode takes a custom PostgreSQL dump through the API container’s configured connection, validates the archive, and creates/verifies the existing key-bound backup manifest before updating images. Backup failure blocks the upgrade. PostgreSQL client tools ship in the API image; external mode does not need a local Postgres container.
The compatibility candidate detects the server major and selects its matching
packaged pg_dump (16, 17 or 18). It refuses unsupported majors instead of
silently choosing another version. Archive listing uses the packaged PostgreSQL
18 pg_restore; successful listing alone does not demonstrate that an archive
can be restored to your target server. Use the matching-major pg_restore for
your isolated restore drill. Changing database major versions is a separate
migration project, not a side effect of a Tunnex upgrade.
Archive validation is not a restore drill. Restore into a separate database and verify it with the matching Tunnex master key before relying on recovery. Retain both the dump and its manifest, and back up the master key separately. Start a separate test CP with the restored database and the original matching key material; check health and login before accepting the drill. Never attach freshly generated CP keys to a populated restored database, overwrite your live database for a test, or publish dumps or keys alongside documentation.
For URL/password rotation, update the protected .env or Kubernetes Secret and
recreate/restart API workloads during an appropriate maintenance window. Secret
updates are not advertised as automatic hot-reload. Keep the database endpoint
and role consistent during rotation; coordinate overlapping credentials with the DBA.
If preflight fails, fix private DNS/routing, firewall, certificate trust, role permissions or the writable endpoint as indicated. Credentials are excluded from preflight error messages. Do not work around failure by publishing the database or disabling TLS verification.