This procedure installs an immutable, release-matched Compose deployment. Run it on a prepared Linux host after completing Plan your deployment.
1. Download and verify the installer
Section titled “1. Download and verify the installer”Keep the launcher on disk long enough to verify and inspect it:
curl -fsSL https://get.tunnex.io -o get.shcurl -fsSL https://get.tunnex.io/SHA256SUMS -o SHA256SUMSsha256sum -c SHA256SUMS --ignore-missingless get.shsudo sh get.shThe installer validates the signed release descriptor and pins the API, web, edge, gateway-agent, Compose, and upgrade artifacts to one release. It does not clone the source repository or compile images on the server.
2. Answer the prompts
Section titled “2. Answer the prompts”Provide:
- Public base URL — include
http://orhttps://; use a DNS hostname for direct HTTPS. - Bootstrap administrator email — this becomes the first sign-in identity.
- SMTP choice — configure delivery now or deliberately skip it.
The installer refuses loopback origins, credentials in the URL, path/query
components, and direct https:// to an IP address.
For automation, use environment variables. There is no --yes flag:
curl -fsSL https://get.tunnex.io -o get.shsudo env \ TUNNEX_PUBLIC_BASE_URL=https://vpn.example.com \ TUNNEX_ADMIN_EMAIL=owner@example.com \ TUNNEX_SMTP=skip \ sh get.shSkipping SMTP keeps password sign-in available, but email verification, password-reset, and invitation delivery require a manual link handoff until SMTP is configured.
3. Save the one-time administrator credential
Section titled “3. Save the one-time administrator credential”On a database with no users, the API prints a banner headed
TUNNEX - FIRST RUN: ADMINISTRATOR ACCOUNT. Store the email and generated
password immediately in your password manager.
Do not include the password banner in screenshots, shell transcripts, tickets, or CI output.
4. Verify services
Section titled “4. Verify services”The installer creates a tunnex/ directory containing .env, tunnex.yml,
release.json, and upgrade.sh.
cd tunnexsudo docker compose -f tunnex.yml pssudo docker compose -f tunnex.yml exec -T api \ wget -qO- http://127.0.0.1:8080/healthzsudo docker compose -f tunnex.yml exec -T api \ wget -qO- http://127.0.0.1:9090/readyzExpected readiness is ok leader or ok follower. Readiness proves the API can
reach PostgreSQL and reports its scheduler role; it is not a WireGuard test and
does not prove Redis or UDP reachability.
Also check the public origin:
curl -fsS https://vpn.example.com/healthzcurl -fsS https://vpn.example.com/api/v1/metaThe metadata endpoint is public and contains no credentials. It is useful for edition, protocol, mail, SSO-provider, and release presentation checks.
5. Open the console
Section titled “5. Open the console”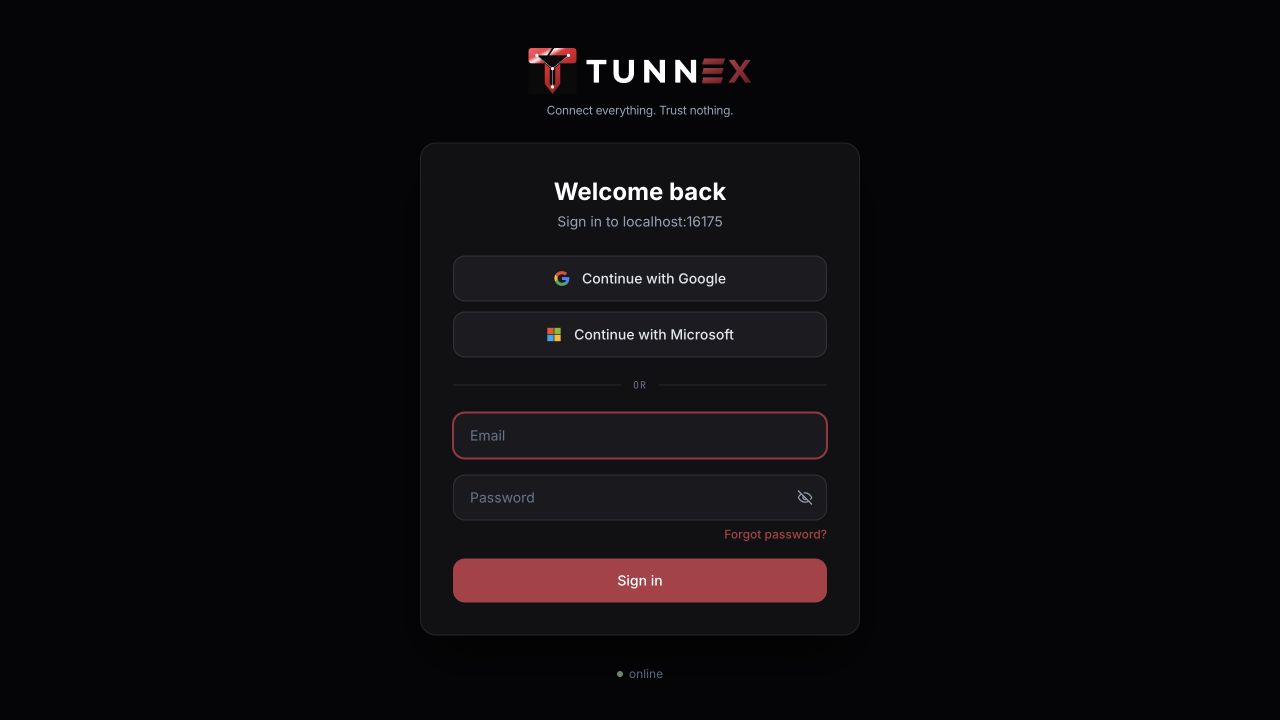
The documentation fixture is reached through an SSH forward. Production users should see the public DNS name selected during installation.
Open the public URL, enter the one-time administrator credential, and continue with First administrator and organization.
Files and ownership
Section titled “Files and ownership”.envcontains supported operator configuration. Restrict it to root or the deployment operator.tunnex.ymlandrelease.jsonare installer-managed release artifacts. Do not hand-edit them; the upgrade helper checks their recorded baseline.- Long-lived generated secrets live in the
tunnex_secretsDocker volume, not as ordinary values in.env. - PostgreSQL data and secrets require independent backup handling.
If installation fails
Section titled “If installation fails”- Keep the original terminal error; do not immediately rerun with changed inputs.
- Check DNS, clock, disk space, Docker daemon health, and outbound HTTPS.
- Run
sudo docker compose -f tunnex.yml psonly if the install directory was created. - Inspect the relevant container log, then remove tokens/passwords before sharing it.
- Rerun the installer only after correcting the reported preflight failure.
On an established deployment, never delete volumes as a generic repair step. Use Troubleshooting and preserve recovery artifacts.